
How to Create a Digital Wedding Invitation Guests Will Love
Plan, design and share a beautiful digital wedding invitation with the right details, RSVP flow, timing and guest experience.

A digital wedding invitation should do more than announce a date. It should make your celebration feel real, answer the questions guests are about to ask and make replying effortless. The strongest invites combine the emotion of a traditional card with the usefulness of a small wedding website.
This guide walks you through the complete process, from gathering details to testing the final link. Use it whether you are planning one ceremony or a multi-day wedding with guests in several cities.
1. Gather the details before choosing a design
Start with one shared document and confirm the facts with both families. Collect the couple's preferred names, event names, dates, start times, venue names, full addresses, map links, dress guidance and RSVP contact. For a multi-event celebration, record which guests are invited to each function before you write public copy.
Decide what is confirmed and what is still tentative. Publishing an incomplete venue or guessed time creates more confusion than waiting a day for the correct information.
- Names exactly as you want guests to see them
- Date, start time and time zone for every event
- Venue name, address and reliable map pin
- RSVP deadline, contact and response choices
- Dress code, adults-only note or other essential guidance
Ask one person from each family to proof the final facts. A fresh reader catches name spellings and schedule conflicts quickly.
2. Choose a format around the guest journey
A good template is readable before it is decorative. On a phone, guests should see your names and wedding date quickly, then move naturally to events, venue, RSVP and gallery. Animation can create a memorable opening, but it should never delay access to practical information.
Choose colors with enough contrast, use familiar labels and keep the main type large. If grandparents or international guests are on the list, test the invite on a small phone and on a slower connection.
3. Write warm, concise invitation copy
Your opening can be formal, modern or family-led, but clarity matters in every style. Name the hosts only if that tradition is meaningful to you, state what guests are being invited to and keep the essential sentence easy to scan.
Move longer stories, poems and family messages into separate sections. On the event cards, use direct language: event name, date, time, venue and one short note. Guests are often reading while travelling, so concise copy is a form of hospitality.
4. Add only the features guests will use
The most useful digital invitation features remove a real point of friction. A map button prevents last-minute location messages. RSVP choices produce a usable headcount. Calendar-friendly dates reduce forgotten events. A gallery builds warmth without crowding the main announcement.
- A simple RSVP with attendance and guest count
- One-tap directions for each venue
- Separate cards for separate ceremonies
- A lightweight gallery with selected photos
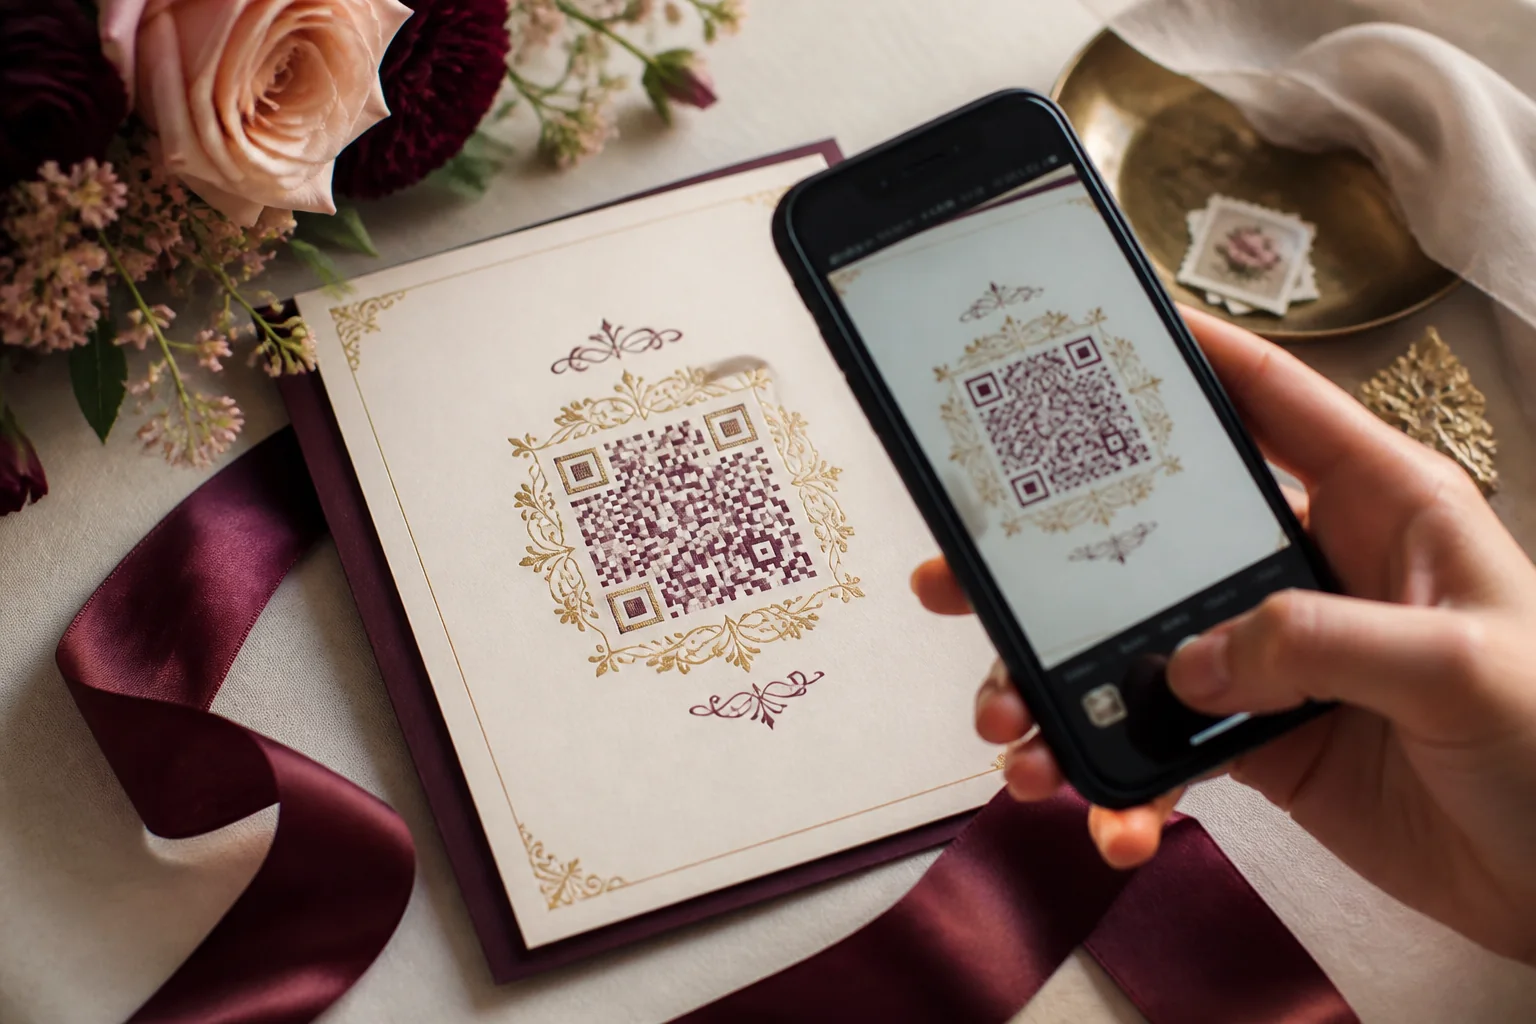
- A share-ready link and optional QR code
Frequently asked questions
What should a digital wedding invitation include?+
Include the couple's names, event dates and times, venues, map links, RSVP instructions and any essential dress or guest guidance. Multi-event weddings should clearly separate each function.
Can a digital invitation replace a printed card?+
Yes for many guest lists. Some couples use digital invitations for most guests and print a small number for close relatives or keepsakes.
How do I make an online wedding invitation feel personal?+
Choose a design connected to your celebration, use your natural voice, add a few well-selected photos and send the link with an individual message.
Put the guide into practice
Create your wedding invitation
Start with a polished template, add every event and share one mobile-friendly link with your guests.
Explore templates