
Wedding Invitation QR Codes: A Beautiful, Guest-Friendly Guide
Use a wedding invitation QR code for RSVP, maps or your digital invite with better placement, reliable testing, privacy and a clear backup link.
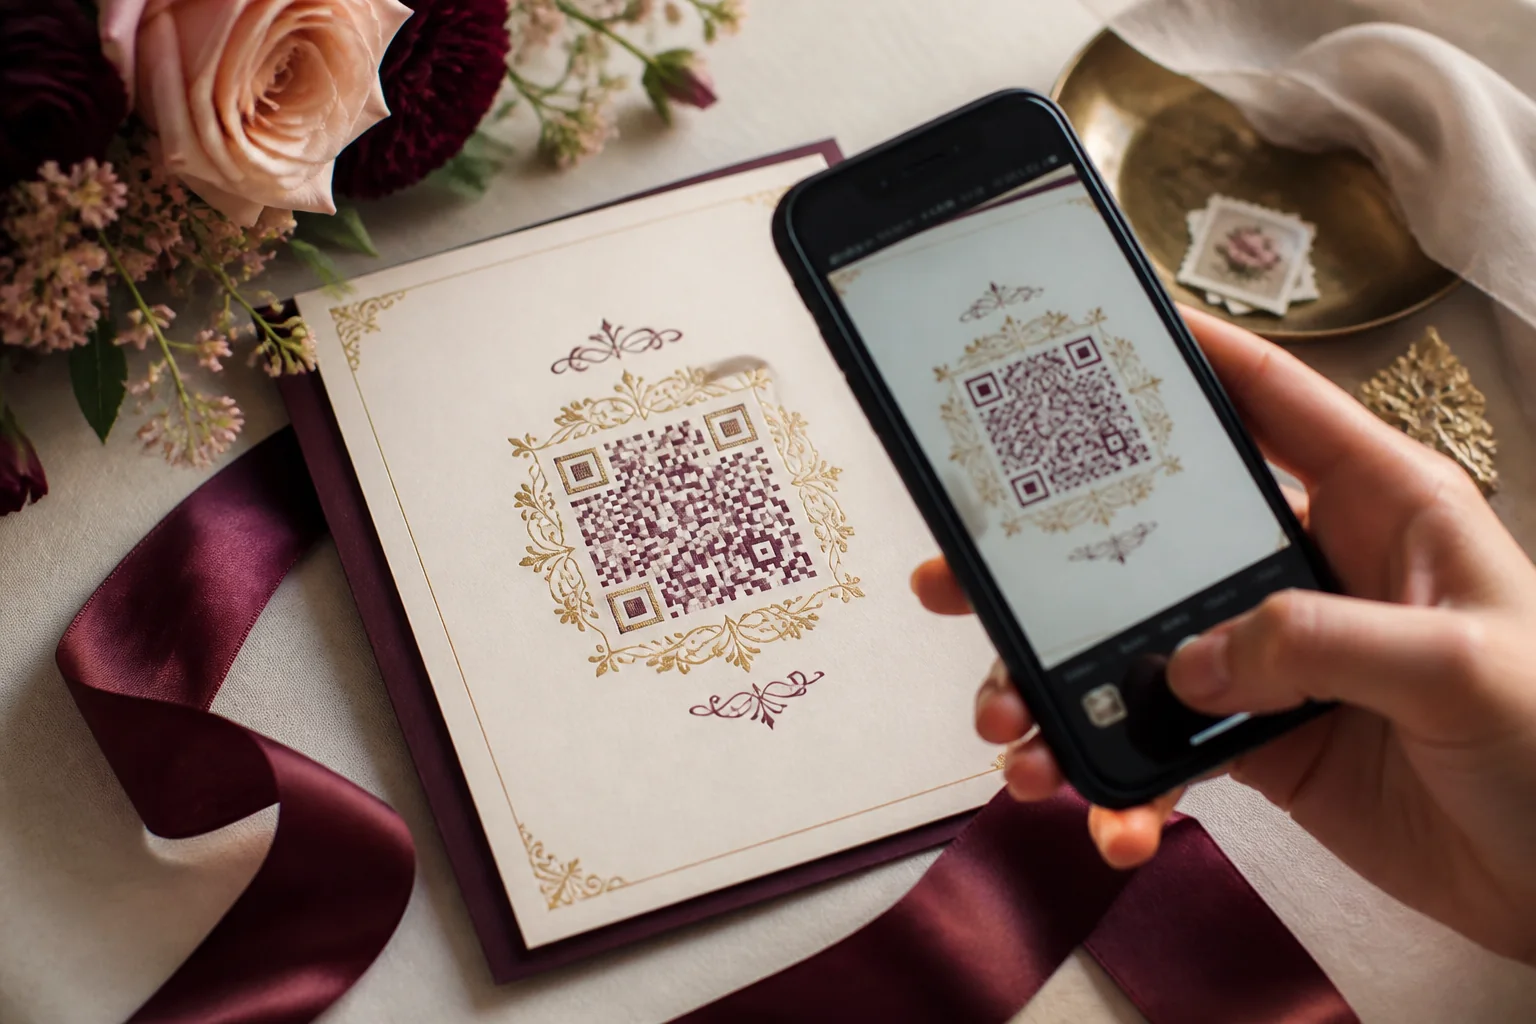
A QR code can make a printed wedding invitation behave like a doorway. One scan can open the full event schedule, collect an RSVP, reveal a precise map or show travel updates that would never fit gracefully on a card. But the square itself is not the experience. Its destination, placement, contrast and backup plan determine whether guests feel helped or sent into a small technical puzzle.
The best QR code is almost boring in its reliability. It has one obvious job, enough breathing room, a short explanation and a link that works on an ordinary phone. This guide covers the practical details while keeping the invitation elegant.
Give the code one clear job
Decide what should happen immediately after the scan. For most invitations, the strongest destination is the main digital invitation or wedding page, where guests can see the schedule and choose RSVP. A direct map code may be useful on a small event insert, but it becomes confusing if guests expect the whole wedding plan.
Label the action beside the code: 'View the invitation and RSVP,' 'Open directions' or 'See travel details.' A mysterious square asks the guest to take a risk. A clear promise makes the scan feel intentional.
Prepare the destination before generating the code
Open the destination in a private browser and complete the main task yourself. Confirm that the page loads without your account, begins with recognizable couple names and works on mobile data. If it is an RSVP form, submit every attendance path and check the confirmation.
Use the final, secure URL rather than a preview link or editor address. Avoid a chain of redirects you do not control. If you expect the page address to change, use a redirect you own so the printed code can continue pointing to a stable route.
Design around the code instead of hiding it
Place the code on a calm area with strong contrast and empty space around all four sides. Do not set it across a photograph, textured foil or fold. Keep it large enough for the final physical object and remember that a code which works when enlarged on a monitor may fail when printed on a small card.
You can tint the dark modules to a deep brand color, but keep the background light and plain. Decorative frames are fine outside the clear area. Resist rebuilding the internal pattern into flowers or initials unless you can test the exact exported result extensively.
- High contrast
- Quiet border around the code
- Flat, uncoated or reliably printed surface
- Short action label
- Readable URL nearby
Test the physical print, not only the design file
Print the code at final size on the actual stock or the closest available sample. Scan it with several phones, from different angles and in dimmer light. Test before approving the full print run, then scan one finished piece from the production batch as a final quality check.
Ask someone outside the planning team to use it without instruction. Notice whether they know what to do, whether the camera recognizes it quickly and whether the landing page feels related to the card. Usability includes the seconds before and after detection.
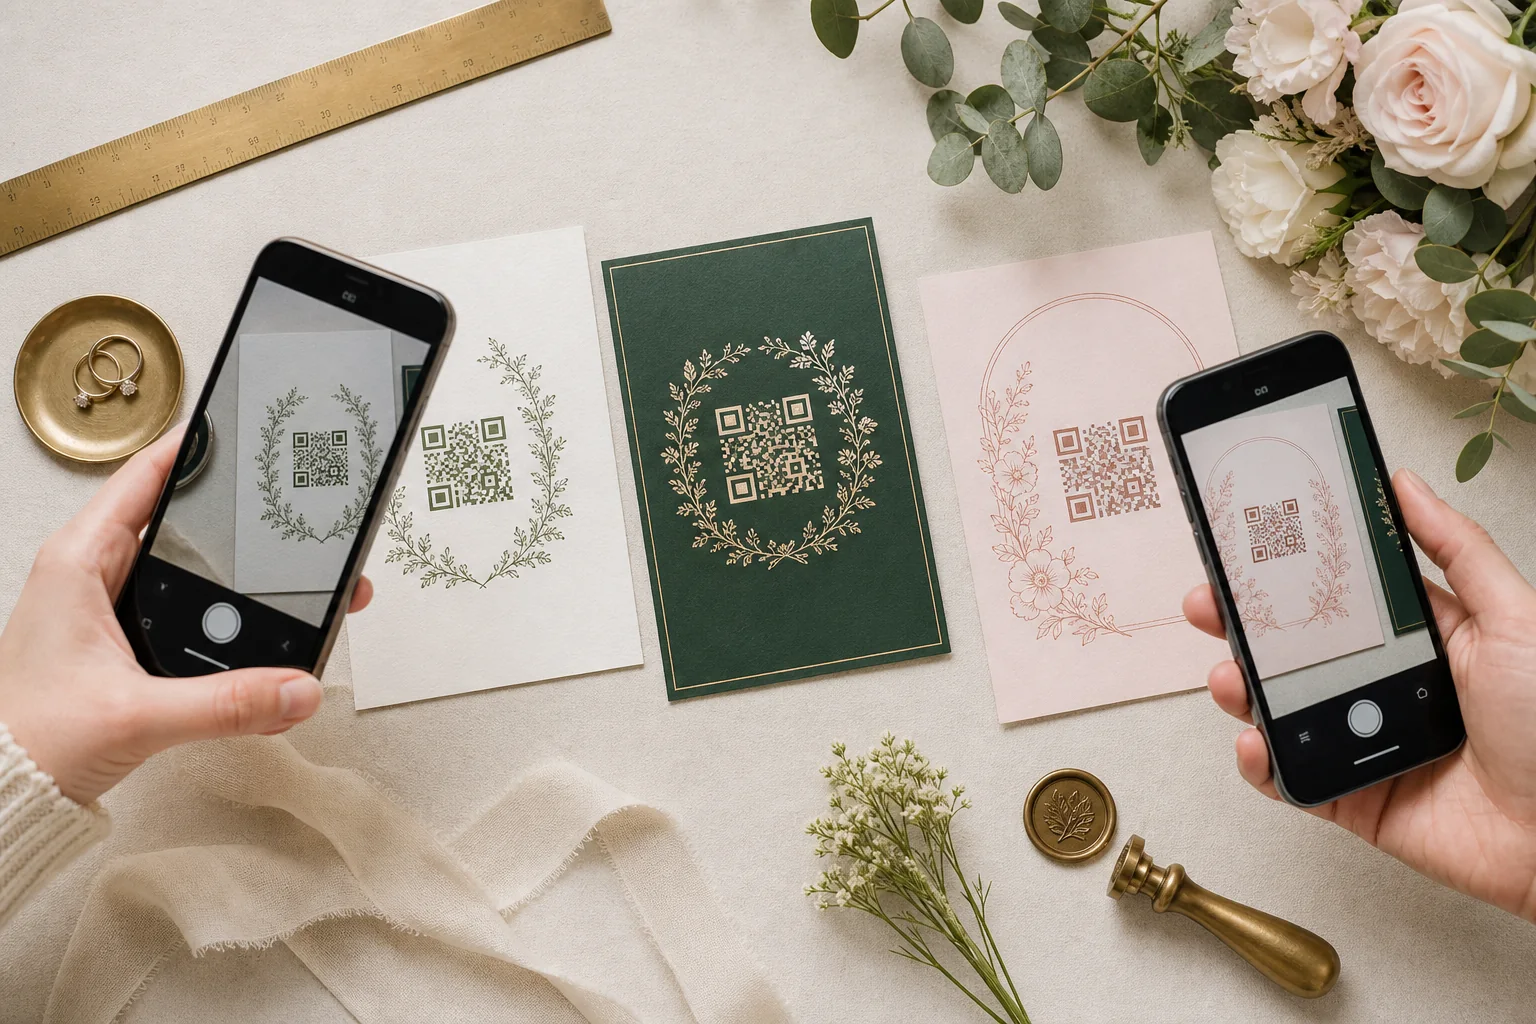
Never judge scan reliability from a code displayed large on your laptop. Final size, paper, finish, lighting and camera distance all matter.
Match privacy to the information behind the code
A printed invitation can be photographed or forwarded, so assume the code may travel beyond the named household. Keep private travel lists, room assignments and personal documents behind appropriate access controls. Do not put information on the landing page that would cause harm or embarrassment if shared more widely.
If the RSVP needs to recognize a household, use a guest-specific link or ask for a simple lookup detail. Explain what information you collect and avoid requesting data that has no planning purpose. Convenience should not quietly expand into unnecessary surveillance.
Always provide a graceful backup
Print a short URL beneath or near the code. It supports guests who prefer typing, people whose camera does not detect the image and anyone receiving a low-quality photograph of the card. Keep essential date, time and venue information on the invitation itself; a dead battery should not erase the ceremony.
Name a human RSVP route for guests who are not comfortable with forms. A phone call or family contact does not weaken the digital system—it makes the invitation inclusive. Enter those replies into the same guest tracker so the planning team still has one reliable record.
Maintain the link through the celebration
Do not disable the destination as soon as the RSVP deadline passes. Guests may return for directions, timing or hotel information on the wedding day. Change the primary action from RSVP to schedule or contact details while preserving the route.
After the celebration, decide intentionally whether the page becomes a thank-you and gallery, remains a private archive or closes. If the code is printed in a keepsake, a graceful final page is better than an unexplained error.
Frequently asked questions
Where should a QR code go on a wedding invitation?+
Use a flat, uncluttered area on the back, details card or lower section, with strong contrast, clear space and a short label explaining what opens.
Should the QR code link directly to RSVP?+
It can, but linking to the main digital invitation is often more helpful because guests can confirm dates and events before replying. Make the RSVP action obvious on that page.
Do we still need to print a website address?+
Yes. A short URL is an important backup for guests who cannot or prefer not to scan the code.
Put the guide into practice
Create your wedding invitation
Start with a polished template, add every event and share one mobile-friendly link with your guests.
Explore templates